
Level Up Your Music Production Game
Want to create professional-sounding music? These seven music production tips offer actionable advice to refine your workflow and unlock your sonic potential. Whether you're crafting catchy melodies or intricate soundscapes, these techniques are your key to producing radio-ready tracks. This concise guide cuts through the noise, providing clear, practical insights to elevate your music production skills. Learn how to master essential concepts like gain staging, EQ, and compression. Explore creative applications of effects like reverb and sidechain compression. We'll cover techniques used by industry professionals to help you polish your tracks and achieve a professional sheen. From foundational knowledge to advanced sound design, this listicle provides the tools you need to transform your musical ideas into polished, market-ready productions. No matter your experience level, implementing these music production tips will undoubtedly improve the quality of your music. Let's dive in.
1. Gain Staging and Proper Level Management
Gain staging, a fundamental aspect of professional music production, involves strategically managing audio levels throughout your project. From the initial recording stage to the final master, consistent attention to signal levels ensures a clean, dynamic, and distortion-free end product. This technique maximizes your signal-to-noise ratio, providing a solid foundation for impactful mixes. Ignoring gain staging can lead to unwanted noise, digital clipping, and a compromised dynamic range, hindering the overall quality of your music.

Why is Gain Staging Important?
Proper gain staging offers several crucial benefits. It allows you to utilize the full dynamic range of your recordings and prevents unpleasant digital distortion. A well-maintained gain structure also ensures that your plugins perform optimally, as many are designed to operate within a specific input level range. Finally, it simplifies the mixing and mastering process, providing ample headroom for dynamic processing and final polish.
Examples of Effective Gain Staging
Legendary producers like Rick Rubin are known for their meticulous approach to gain staging, resulting in consistently clean and powerful recordings. Similarly, the renowned Abbey Road Studios emphasizes proper level management as a core element of their engineering protocols. Even in contemporary genres like hip-hop, producers like Metro Boomin maintain a clean gain structure, contributing to the polished sound of their productions.
Actionable Gain Staging Tips
-
Recording Levels: Aim for peak levels around -18dBFS to -12dBFS during recording. This provides enough headroom to avoid clipping while capturing a strong signal.
-
Monitoring Your Levels: Utilize your DAW's built-in meters and explore third-party metering plugins for more detailed visual feedback.
-
Plugin Management: Set each plugin's input level to match its intended operating range. This can often be found in the plugin's manual or by observing its internal metering.
-
Master Bus Headroom: Leave approximately 6dB of headroom on your master bus before mastering. This allows the mastering engineer ample room for dynamic processing and final level adjustments.
-
Trim Plugins: Use trim plugins liberally to adjust levels without affecting other processing applied to a track. This provides a clean and efficient way to manage gain.
By implementing these music production tips and maintaining a consistent focus on gain staging, you establish a professional workflow and unlock the full potential of your musical creations. This essential skill empowers you to achieve a polished, dynamic, and distortion-free sound, elevating your music to the next level.
2. Reference Mixing and A/B Comparison
Reference mixing, a crucial technique for achieving professional-sounding music, involves comparing your in-progress mixes to commercially successful tracks in similar genres. This process provides a sonic benchmark, helping you make informed decisions about your mix's tonal balance, dynamics, stereo width, and overall character. By analyzing the nuances of professional productions, you can identify areas where your mix might be lacking and make targeted adjustments. A/B comparison facilitates this process, enabling quick switching between your mix and the reference track to highlight sonic differences.

Why is Reference Mixing Important?
Reference mixing provides an objective perspective on your mix. It helps you identify imbalances in frequencies, inconsistencies in dynamics, and discrepancies in the overall sonic quality. Without a reference point, it's easy to get lost in the details of your own mix and lose sight of the bigger picture. Reference mixing also exposes you to different mixing and mastering techniques used by professionals in your genre, expanding your sonic palette and inspiring new creative approaches. Learn more about setting up your studio for accurate reference mixing.
Examples of Effective Reference Mixing
Top producers like Finneas, known for his work with Billie Eilish, frequently use reference tracks to maintain a consistent sonic aesthetic. Similarly, electronic music icon Skrillex utilizes reference tracks, drawing inspiration from classic electronic productions to inform his innovative sound design. Renowned mixing engineer Chris Lord-Alge is a strong proponent of systematic reference mixing, attributing much of his success to this meticulous approach.
Actionable Reference Mixing Tips
-
Curated Selection: Choose 3-5 commercially successful reference tracks within the same genre and with a similar energy level as your song.
-
Volume Matching: Ensure accurate comparisons by matching the perceived loudness between your mix and the reference tracks. Avoid solely relying on peak levels; use LUFS metering for a more accurate representation of loudness.
-
Dedicated Tools: Utilize a dedicated A/B referencing plugin or your DAW's built-in comparison features to streamline the switching process and facilitate quick analysis.
-
Focused Listening: Concentrate on one element at a time (e.g., bass, vocals, drums) when comparing your mix to the references. This targeted approach helps identify specific areas for improvement.
-
Detailed Notes: Take notes on the characteristics of the reference tracks you want to emulate in your mix. This provides a roadmap for your mixing decisions.
By consistently incorporating reference mixing into your music production workflow, you can significantly enhance your ability to create professional-sounding music. This technique offers valuable insights and helps you develop a critical ear, essential for achieving a polished and competitive final product.
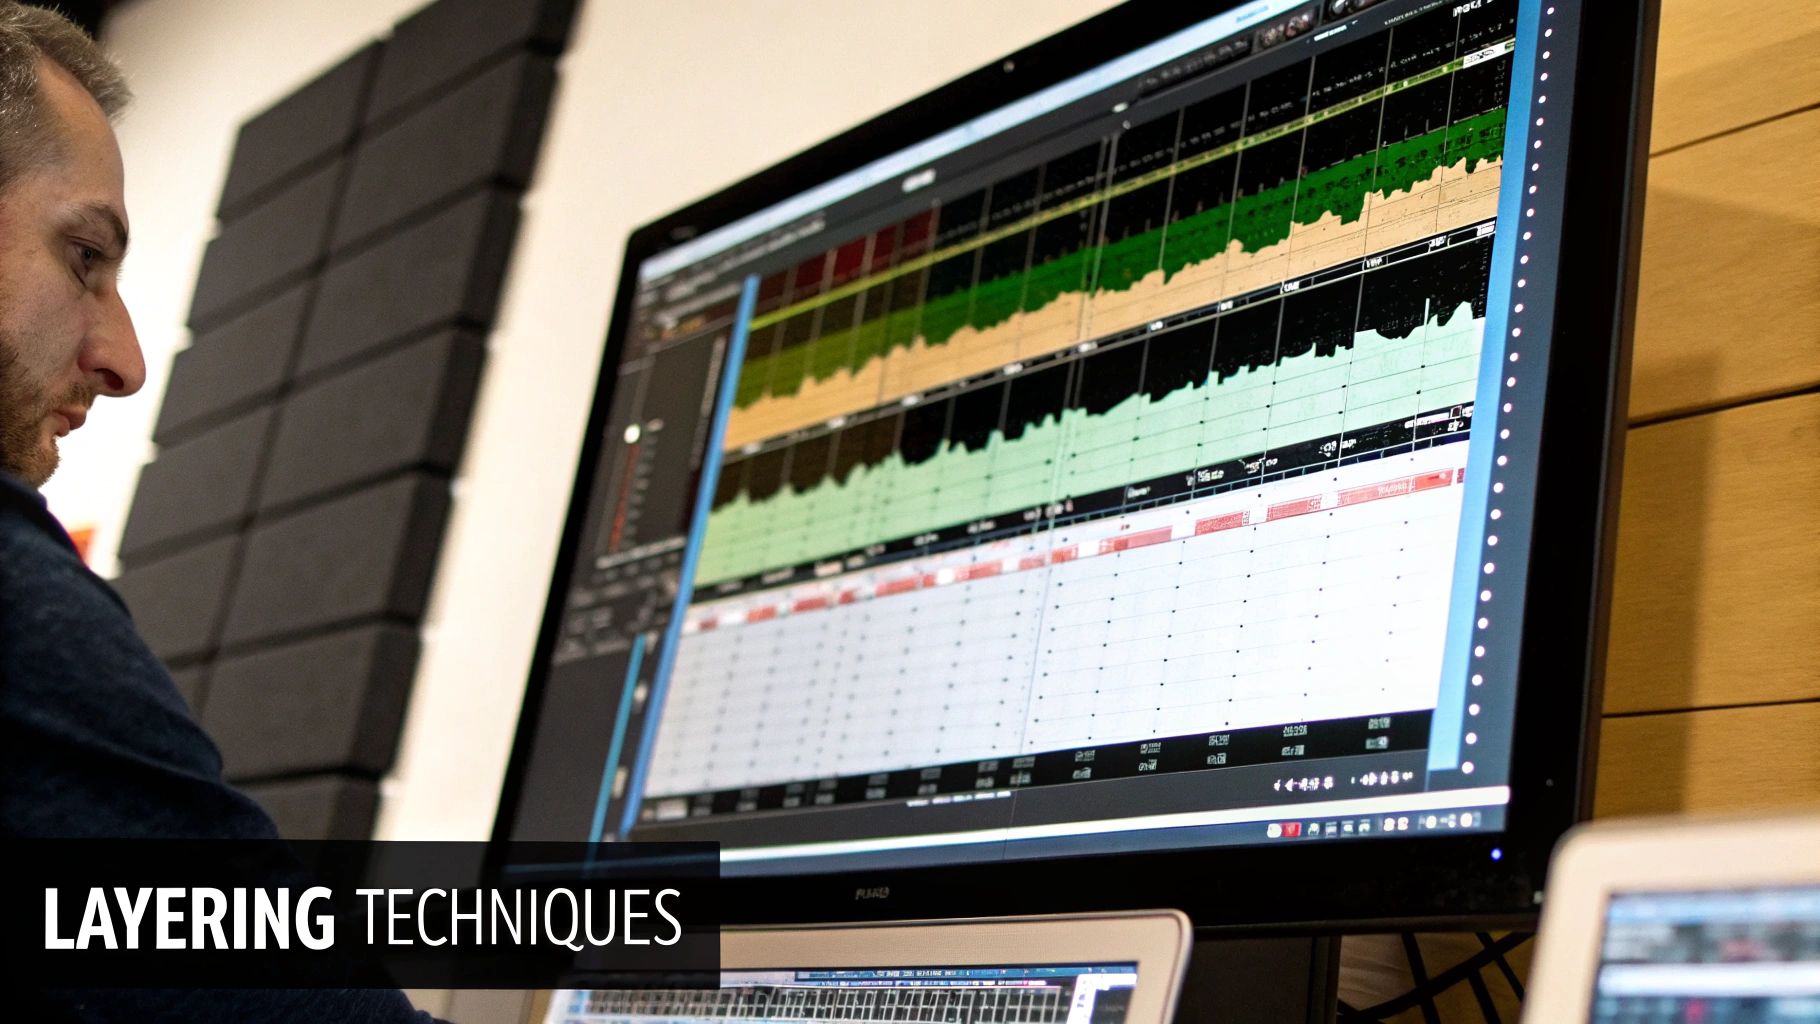
3. Layering and Arrangement Techniques
Layering and arrangement are pivotal techniques in music production. Layering involves combining multiple sounds, instruments, or audio elements to create richer, more complex textures. Effective arrangement focuses on creating dynamic interest throughout a song by strategically adding and removing elements. This combined approach helps create professional-sounding productions with depth and movement, maintaining clarity and separation between individual layers.
Why are Layering and Arrangement Important?
Layering adds depth and complexity to your music, transforming simple melodies into rich sonic landscapes. Arrangement guides the listener's emotional journey, building tension and release, and maintaining engagement. Together, these techniques contribute significantly to a track's overall impact and professional polish. Skilled layering avoids muddiness, ensuring each element contributes positively to the mix.
Examples of Effective Layering and Arrangement
Pink Floyd's The Wall showcases masterful layering techniques, creating immersive soundscapes. Kanye West's production style often relies on creative layering, blending diverse samples and instruments into a cohesive whole. Tame Impala's Kevin Parker uses extensive layering for psychedelic textures, while Hans Zimmer's film scores demonstrate powerful orchestral layering principles. These examples demonstrate the versatility of these music production tips across genres.
Actionable Layering and Arrangement Tips
-
EQ for Clarity: Use EQ to carve out frequency spaces for each layer, preventing them from clashing and ensuring clarity.
-
Panning for Width: Pan similar elements to different positions in the stereo field, creating a wider, more immersive soundscape.
-
Vary Timing and Rhythm: Vary the timing and rhythm of layered elements slightly to introduce subtle variations and avoid a static feel.
-
Automation for Dynamics: Use automation to bring layers in and out dynamically, creating movement and interest within the arrangement.
-
Energy Curve: Consider the arrangement's energy curve throughout the song, strategically building tension and release for maximum impact.
By mastering these layering and arrangement techniques, you enhance your music production skills, creating tracks with depth, complexity, and emotional impact. These music production tips are essential for crafting engaging sonic experiences that captivate listeners from beginning to end.
4. Compression Fundamentals and Creative Application
Compression, a cornerstone of music production, is a dynamic processing technique that reduces the dynamic range – the difference between the loudest and quietest parts – of an audio signal. While its primary function is controlling dynamics, compression is also a powerful creative tool, capable of adding punch, sustain, character, and "glue" to individual tracks and entire mixes. Mastering the parameters of attack, release, ratio, and threshold unlocks a producer's ability to shape the feel and groove of their music.

Why is Compression Important?
Compression is crucial for several reasons. It helps to even out inconsistent performances, bringing quieter parts forward and taming overly loud peaks. This creates a more balanced and polished sound. Furthermore, compression can enhance the sustain of instruments, add punch to drums, and thicken the overall mix. By skillfully applying compression, producers can dramatically improve the clarity, impact, and overall quality of their music. Learn more about Compression Fundamentals and Creative Application for additional insights into the principles of compression for beginners.
Examples of Effective Compression
Classic examples of effective compression abound in music history. The Beatles' use of the Fairchild 670 compressor on their mix bus added warmth and cohesion. Motown recordings frequently employed the LA-2A optical compressor on vocals for its smooth, vintage character. Led Zeppelin's drum sounds often featured the aggressive bite of the 1176 peak limiter. The punchy, glued-together sound of 1980s pop productions is largely attributed to the use of SSL bus compression.
Actionable Compression Tips
-
Attack: Start with a slow attack for punch and a fast attack for controlling transients.
-
Release: Use a fast release for energy and a slow release for a smoother, more natural sound.
-
Ratio: Apply 2-4dB of gain reduction for subtle control and higher ratios for more aggressive effects.
-
Experiment: Try different compressor types (FET, VCA, optical) to discover their unique sonic characteristics.
-
Parallel Compression: Use parallel compression, blending a heavily compressed signal with the original, to maintain dynamics while adding punch.
By understanding and applying these music production tips related to compression, producers gain a valuable tool for shaping the dynamics and character of their music. This essential technique can elevate tracks from sounding amateurish to professional, adding the polish and impact necessary for a competitive sound in today's music landscape.
5. EQ Techniques and Frequency Management
Equalization (EQ), a cornerstone of music production, is the art and science of shaping the frequency balance of audio signals. It's a powerful tool that allows you to sculpt the sonic landscape of your music, correcting problematic frequencies and enhancing the overall character of your mix. Mastering EQ involves understanding frequency ranges, different filter types, and how various instruments interact within the frequency spectrum. This knowledge is essential for crafting clear, balanced mixes where each element occupies its own sonic space.
Why is EQ Important?
Effective EQ is crucial for achieving a professional-sounding mix. It allows you to clean up muddiness in the low end, create clarity in the midrange, and add sparkle to the high frequencies. Proper EQ can also help individual instruments sit better in the mix, preventing them from clashing with each other. By strategically shaping the frequencies of each track, you create a cohesive and balanced sonic picture.
Examples of Effective EQ
Legendary producers have long recognized the power of EQ. Abbey Road Studios, renowned for its work with the Beatles, pioneered innovative EQ techniques that contributed to the band's iconic sound. Quincy Jones masterfully employed EQ in his productions for Michael Jackson, shaping the vocals and instrumentation to create a polished and impactful sonic experience. Even in contemporary music, EQ plays a vital role, with genres like pop emphasizing high frequencies for streaming services and hip-hop utilizing characteristic low-end boosts and midrange scoops.
Actionable EQ Tips
-
Cut Before You Boost: Start by removing unwanted frequencies before boosting desired ones. This often leads to a cleaner and more natural sound.
-
High-Pass Filters: Utilize high-pass filters to eliminate unnecessary low-end buildup, creating a tighter and more defined low end.
-
Mix Context: Always make EQ decisions within the context of the full mix. Soloing individual tracks can be misleading and result in poor EQ choices.
-
Q Factor: Use narrow Q values for precise corrective cuts and wider Q values for broader musical shaping.
-
Listening Environment: Consider your listening environment and various playback systems when making EQ decisions, as different systems can reproduce frequencies differently.
By mastering these music production tips and developing a keen understanding of EQ techniques, you gain a powerful tool for shaping your sonic creations. Effective frequency management unlocks the full potential of your mixes, leading to a polished, balanced, and professional sound. This essential skill elevates your music production to the next level.
6. Reverb and Spatial Processing
Reverb and spatial processing are essential music production tips that create the illusion of three-dimensional space within your audio productions. These techniques simulate natural acoustic environments, from intimate rooms to vast concert halls, or even construct entirely artificial spaces. This adds depth, atmosphere, and emotional impact to your mix, transforming a flat, lifeless sound into an immersive sonic experience. Understanding different reverb types, early reflections, and spatial positioning empowers producers to craft soundscapes that enhance the musical narrative.
Why are Reverb and Spatial Processing Important?
These music production tips provide several key benefits. Reverb can glue disparate instruments together, creating a cohesive and unified sound. Spatial positioning helps define the stereo image, placing instruments strategically within the soundscape for improved clarity and separation. Using these tools effectively contributes to a more professional, polished, and emotionally resonant final product. Consider how treating your room's acoustics contributes to a better recording; learn more about…
Examples of Effective Reverb and Spatial Processing
Phil Spector's iconic "Wall of Sound" production technique heavily relied on reverb to create a dense, immersive sonic tapestry. Peter Gabriel's innovative use of gated reverb in the 1980s became a defining sound of the era. Ambient music pioneers like Brian Eno embrace reverb as a core element, generating ethereal textures and vast atmospheric spaces. Even in modern pop, algorithmic reverbs are used subtly to add polish and depth.
Actionable Reverb and Spatial Processing Tips
-
Pre-Delay: Introduce a short pre-delay before the reverb effect to maintain clarity and separation of the dry signal, preventing the sound from becoming muddy.
-
EQ Reverb Returns: Equalize your reverb returns to prevent frequency buildup, especially in the low-mid range. This helps maintain a clean and balanced mix.
-
Match Reverb Characteristics: Select reverb types that complement the musical style. A large hall reverb might suit an orchestral piece, while a small room reverb could enhance a folk song.
-
Use Sends for Flexibility: Apply reverb using send effects rather than inserts. This provides greater control and allows you to apply the same reverb to multiple tracks, creating a unified spatial environment.
-
Early Reflections: Pay attention to early reflections, the initial sound reflections that occur in a space. These contribute significantly to the perceived realism of a reverb effect, adding a sense of natural room ambiance.
By thoughtfully implementing these music production tips, you can leverage reverb and spatial processing to create immersive, three-dimensional soundscapes that elevate your music. These tools offer a powerful way to enhance the emotional impact, clarity, and overall polish of your productions.
7. Sidechain Compression and Pumping Effects
Sidechain compression, a dynamic processing technique, involves controlling the gain reduction of a compressor with an external audio source, independent of the signal being compressed. This creates rhythmic gain variations, commonly known as "pumping" or "breathing," adding movement and groove to a track. While initially used in radio broadcasting to duck music volume during speech, sidechain compression has become a staple in electronic dance music and modern pop production.
Why is Sidechain Compression Important?
Sidechain compression offers several benefits. It carves out space in the mix, particularly for kick drums, allowing them to punch through without clashing with other elements like basslines. It also introduces a rhythmic drive, enhancing the groove and adding a sense of movement to otherwise static sounds. Furthermore, sidechain compression can be used creatively to add unique dynamic textures and effects to a variety of instruments and sounds.
Examples of Effective Sidechain Compression
Daft Punk's "One More Time" exemplifies the classic sidechain pumping effect, creating a signature rhythmic pulse. Justice's "D.A.N.C.E." utilizes more aggressive sidechain compression, resulting in a pronounced pumping sound. Modern EDM productions frequently employ sidechain compression for rhythmic movement, while radio broadcasters continue to use it for voice-over ducking.
Actionable Sidechain Compression Tips
-
Classic Pumping: Use a fast attack and medium release time for the classic sidechain pumping effect. This creates a noticeable ducking effect synchronized to the trigger source.
-
Trigger Sources: Experiment with different trigger sources beyond the traditional kick drum. Try using snares, claps, or even synthesized pulses to create unique rhythmic variations.
-
Release Time: Adjust the release time to match the tempo and groove of the music. A shorter release time will create a tighter, more pronounced pump, while a longer release time will result in a smoother, more subtle effect.
-
Parallel Processing: Use parallel processing to blend the compressed signal with the original, uncompressed signal. This allows you to retain some of the natural dynamics while still achieving the desired pumping effect.
-
Ghost Triggers: Consider using ghost triggers, or silent notes placed on a separate track, to create more complex and intricate sidechain patterns.
By mastering sidechain compression and incorporating these music production tips, you can add a professional touch to your productions. This valuable technique not only enhances the groove and creates space in the mix but also provides a powerful tool for creative sound design, pushing your music production skills to new heights.
7 Key Music Production Tips Comparison
| Technique | Implementation Complexity 🔄 | Resource Requirements ⚡ | Expected Outcomes 📊 | Ideal Use Cases 💡 | Key Advantages ⭐ |
|---|---|---|---|---|---|
| Gain Staging and Proper Level Management | Medium – requires constant monitoring and adjustment | Low to Medium – mostly DAW tools and meters | Clean, professional recordings with optimal dynamic range | All stages of audio production (recording to mastering) | Prevents distortion and maintains signal clarity |
| Reference Mixing and A/B Comparison | Low to Medium – simple switching and critical listening | Low – needs quality reference tracks and plugins | More consistent, professional-sounding mixes | Mixing and mastering, genre accuracy checks | Provides objective perspective and faster learning curve |
| Layering and Arrangement Techniques | Medium to High – managing multiple elements and their interaction | Medium to High – more CPU and project complexity | Richer, fuller sound with clear separation and dynamic interest | Sound design, complex productions needing depth | Adds harmonic richness and creative flexibility |
| Compression Fundamentals and Creative Application | Medium – requires understanding of parameters | Low to Medium – compression plugins | Controlled dynamics, added punch, and cohesive mixes | Dynamic control and character shaping in individual tracks | Enhances presence and glue in mixes |
| EQ Techniques and Frequency Management | Medium to High – requires precise listening and adjustment | Low to Medium – EQ plugins and monitoring environment | Clear, balanced mixes with frequency separation | Tonal shaping and corrective processing | Improves clarity and fixes frequency issues |
| Reverb and Spatial Processing | Medium – requires subtlety and frequency management | Low to Medium – reverb plugins | Adds depth, space, and emotional impact | Creating immersive soundscapes and ambience | Provides natural or creative spatial effects |
| Sidechain Compression and Pumping Effects | Medium – needs careful tuning for effect | Low to Medium – sidechain-capable compressors | Rhythmic pumping, space creation, dynamic movement | EDM, pop productions, dynamic mixing | Creates space and rhythmic interest |
Unlock Your Sonic Potential: Start Creating Now
Throughout this article, we've explored seven crucial music production tips that can significantly elevate the quality of your tracks. From the foundational elements of gain staging and proper level management to the more nuanced techniques of sidechain compression and spatial processing, each concept plays a vital role in achieving a professional and polished sound. By understanding these core principles, you're equipping yourself with the tools to transform your creative vision into a sonic reality.
Key Takeaways for Enhanced Production
Let's recap the key takeaways to solidify your understanding and guide your next steps in music production:
- Control Your Dynamics: Mastering gain staging and compression allows you to sculpt your audio, ensuring clarity and impact.
- Listen and Compare: Referencing your mix against professional tracks helps identify areas for improvement and refine your sonic palette.
- Build Depth and Interest: Layering and arrangement techniques are essential for creating dynamic and engaging musical experiences.
- Shape Your Sound: EQ allows you to sculpt the frequency spectrum of your instruments, achieving clarity and balance in your mix.
- Create Space and Atmosphere: Reverb and other spatial effects add depth and dimension to your soundscape, immersing the listener.
- Add Rhythmic Excitement: Sidechain compression is a powerful tool for creating rhythmic movement and dynamic interest.
The Power of Consistent Practice
Remember, these music production tips are not merely theoretical concepts; they are practical tools that require consistent application and experimentation. The more you practice, the more intuitive these techniques will become, freeing you to focus on the creative aspects of your music. Implementing these strategies will empower you to take control of your sound, transforming your initial ideas into polished, professional-quality tracks.
From Bedroom Producer to Studio Pro
Mastering these foundational principles is a significant step in your journey as a music producer. Whether you're an aspiring artist working from a home studio or an experienced musician seeking to refine your skills, these tips offer valuable insights for achieving your creative goals. The journey of music production is ongoing, with continuous learning and refinement. Embrace the process of experimentation, discover new techniques, and consistently strive to elevate your craft.
Want to dive deeper into these music production tips and unlock even more advanced strategies? Explore ChordX, founded by industry expert Jimil, for in-depth tutorials, gear reviews, and a wealth of resources designed to empower musicians of all levels. ChordX provides the knowledge and tools you need to refine your sound and achieve your artistic vision.


