
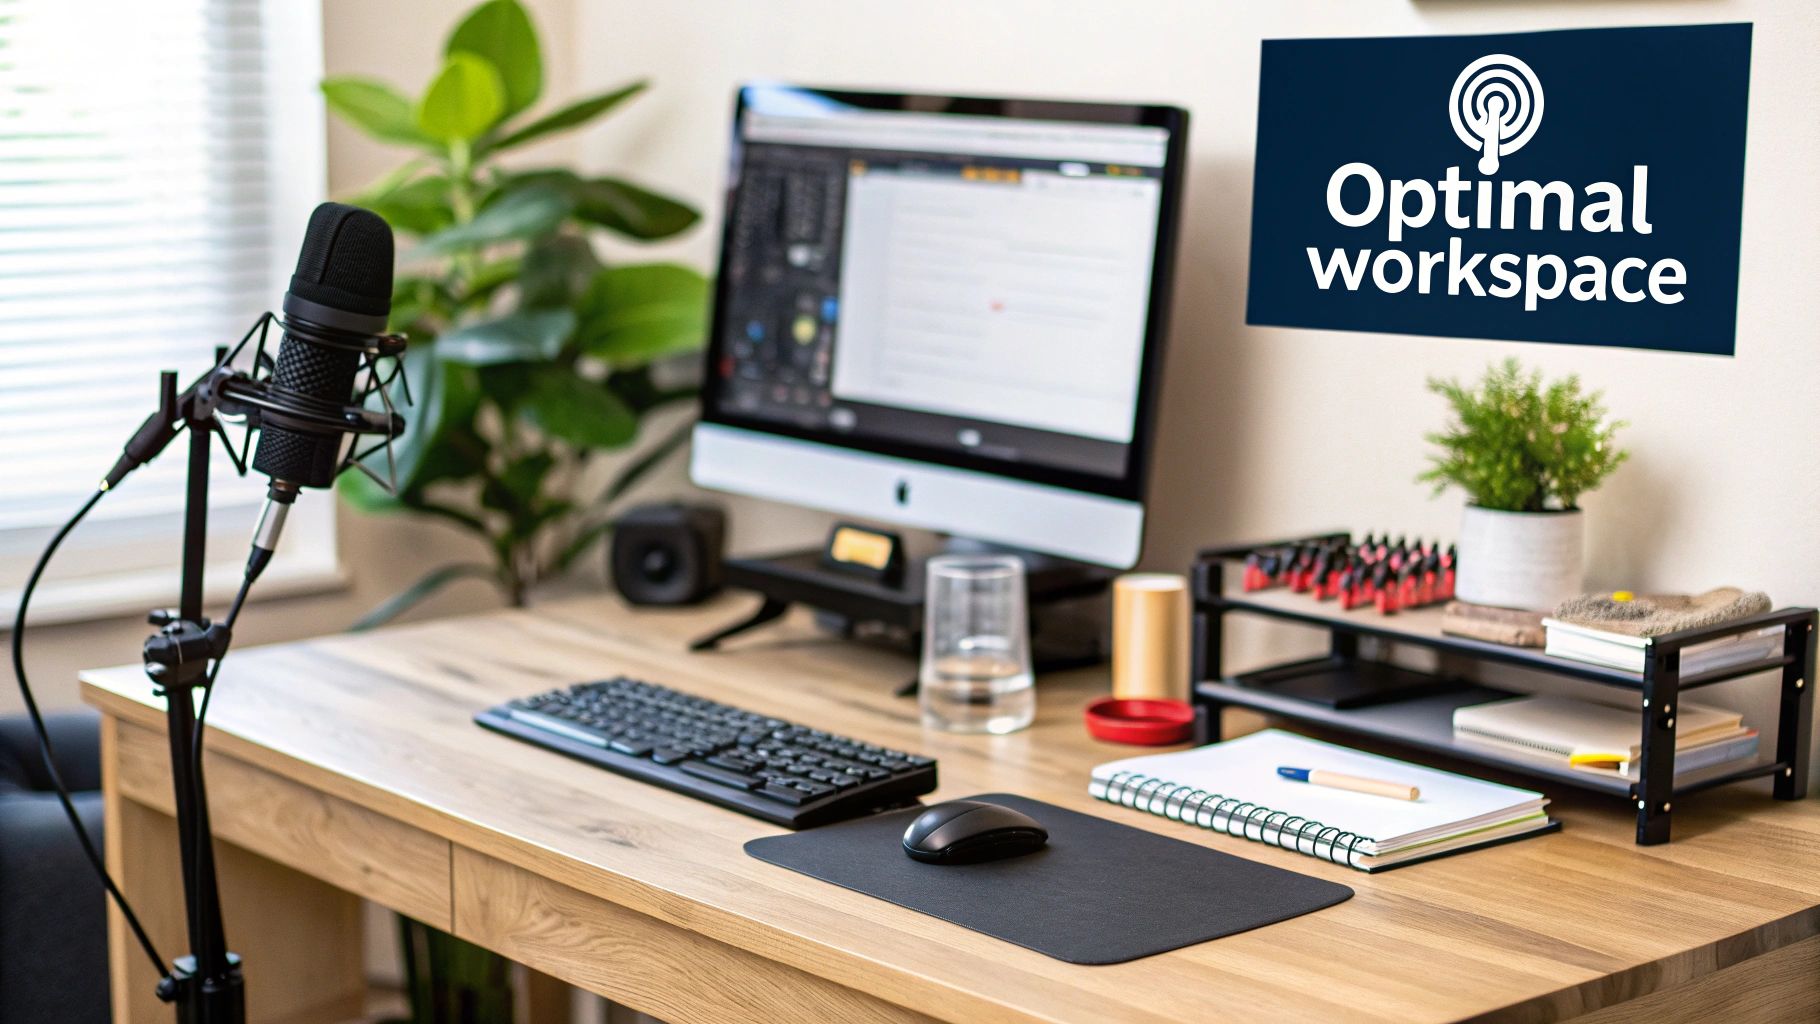
Finding Your Perfect Recording Space (Before You Buy Anything)
Before you even think about adding a microphone or audio interface to your shopping cart, let's talk about the single most important piece of your studio: the room itself. It's a hard truth many people miss, but even a $2,000 microphone will sound awful in a poorly treated space. The four walls around you are either your greatest ally or your worst sonic enemy, shaping every sound you record before it even hits your computer.
Evaluating a Room’s Acoustic Potential
So, what makes a room "good" for recording? It really boils down to its shape and what's inside it. Try to avoid perfectly square rooms if you can. They are notorious for creating standing waves, which is a fancy term for a boomy, uneven buildup of specific bass frequencies that will make your recordings sound muddy. A rectangular room, or one with odd angles like alcoves or slanted ceilings, is a much better starting point.
Here's a quick trick: do the clap test. Stand in the middle of your potential space and give one loud, sharp clap. What do you hear? Is it a quick, clean sound that fades fast, or do you hear a long, metallic ringing? That ringing is called flutter echo, and it's caused by sound bouncing back and forth between hard, parallel surfaces like bare drywall. A room with soft surfaces—like a carpet, a plush sofa, or even a full bookshelf—will naturally absorb sound and pass this test with flying colors. You're not aiming for a completely dead space, just one that doesn't have obvious, distracting echoes.
Practical Considerations Beyond the Sound
Great acoustics are only half the battle; you also have to live and work in this space. Take a moment and just listen. What’s the ambient noise floor like? Can you hear the air conditioner kicking on, the hum of the kitchen refrigerator, or traffic from the street outside? Your microphone will hear all of it.
Next, check out the electrical situation. You’ll need easy access to outlets that can provide stable power for all your gear. This kind of accessibility has completely changed the game. In the early 2000s, a decent home setup could easily cost over $5,000. Fast forward to 2024, and the global personalized music studio market has exploded to a value of $8.2 billion. This shows that countless creators are figuring out these same practical hurdles. Explore the market growth in more detail and know you're not alone in this.
To help you visualize how your room's size affects your setup, this table breaks down the common challenges and treatment priorities.
Room Size vs. Acoustic Treatment Requirements
Comparison of different room sizes and their corresponding acoustic treatment needs and budget considerations
| Room Size | Primary Challenges | Essential Treatments | Estimated Cost Range |
|---|---|---|---|
| Small (e.g., Closet) | Boxy sound, severe bass buildup in corners. | Thick absorption panels on walls, dedicated corner bass traps. | $150 – $500 |
| Medium (e.g., Bedroom) | Flutter echo between parallel walls, moderate standing waves. | Bass traps in corners, absorption panels at first reflection points. | $400 – $1,500 |
| Large (e.g., Garage) | Long reverb time (echo), uncontrolled low-end frequencies. | Significant bass trapping, a mix of absorption and diffusion panels, acoustic clouds on the ceiling. | $1,000 – $3,000+ |
As you can see, every room presents a different set of acoustic puzzles to solve. The key is to match your treatment strategy to the specific problems of your space.
Ultimately, the best room for your studio is a compromise between good acoustics, everyday practicality, and a space that inspires you. A walk-in closet might be an acoustic dream, but it could feel creatively suffocating. That big garage has tons of potential but might come with massive acoustic and noise-proofing headaches. By thinking through these factors before you buy any equipment, you're making the single smartest decision in this entire process. It’s the foundation that ensures all your future gear can perform at its absolute best.
Acoustic Treatment That Actually Makes a Difference
So, you've picked out the perfect room for your studio. The next job is to manage its acoustic character, and this is where many people stumble right out of the gate. They see their favorite YouTuber's background and immediately plaster their walls with thin, cheap foam. The hard truth? Most of that foam does almost nothing to improve your sound.
Proper acoustic treatment isn't about decoration; it's about physics.
The Truth About Acoustic Foam (And What to Use Instead)
That classic, egg-crate style foam you see everywhere is incredibly deceptive. It's usually only an inch thick, which means it can only absorb high frequencies. This leads to a room that sounds weirdly muffled and lifeless, while the real problems—muddy low-mids and boomy bass—are left to run wild. It's like putting a small bandage on a major wound.
To really make an impact, you need materials with enough mass and density to absorb a wider range of sound. This is where we get into broadband absorption. Luckily, some of the best solutions are surprisingly simple and affordable:
- Heavy Moving Blankets: These are thick, dense, and fantastic for taming harsh reflections. You can hang them on your walls or drape them over mic stands to create a makeshift vocal booth in minutes.
- DIY Acoustic Panels: If you're serious about setting up a home studio, building your own panels is a total game-changer. A simple wood frame packed with mineral wool insulation, like Rockwool, creates a pro-level absorber for a tiny fraction of the retail cost.
Taming the Low End: Bass Traps are Non-Negotiable
While panels are great for mids and highs, the true beast in any small room is the low end. Bass frequencies have long wavelengths that pile up in the corners, creating a boomy, inaccurate mess that makes mixing feel like guesswork. This is exactly what bass traps are for, and they are not optional.
Bass traps are just very thick, dense absorbers made to fit into the corners of your room—and yes, that includes where the walls meet the ceiling. They are the single most important acoustic treatment you can add to your space. Without them, you'll never get a clear, punchy low end, no matter how much you spend on monitors or microphones. Don't even think about other treatments until you have a plan for your corners.
Strategic Placement and Free Fixes
Your treatment is only as effective as where you put it. The most important places to treat are the first reflection points. These are the spots on your side walls, ceiling, and back wall where sound bounces off your monitors before it gets to your ears. There’s an easy way to find them called the mirror trick: sit in your mixing position and have a friend slide a mirror along the wall. Any spot where you can see one of your speakers in the mirror is a first reflection point.
You can also get creative with what you already own. A large, plush sofa against the back wall can work as a surprisingly good bass trap. A messy bookshelf filled with books of different sizes and depths acts as a natural sound diffuser, scattering sound waves instead of letting them bounce back at you directly. The image below shows the basic difference between absorption and diffusion.
As you can see, the absorber soaks up the sound energy, while the diffuser breaks it up into weaker reflections that are less noticeable. Using both is the key to a room that sounds controlled but still natural. These small, smart moves often have a much bigger impact than just covering a wall in foam.
In the end, good acoustic treatment isn't about spending a ton of money. It's about making smart, targeted decisions based on how sound actually works. Prioritize broadband absorption and bass trapping, and you'll hear a real, tangible improvement in your recordings and mixes.
Essential Gear That Powers Great Recordings
With your room treated, we get to the fun part: the gear. It's incredibly easy to get lost in a sea of product reviews and catch a serious case of "gear acquisition syndrome." But here’s the secret: a killer recording doesn’t come from the most expensive equipment. It comes from choosing the right core pieces that work together, like a well-rehearsed band, to capture your sound just as you hear it.
The Audio Interface: Your Studio’s Central Hub
Think of the audio interface as the heart of your entire setup. This little box is the official translator between the analog world of sound (your voice, a guitar) and the digital world of your computer. It turns your performance into data your software can work with and then converts it back so you can hear it through your speakers or headphones.
When picking one, the biggest question is how many inputs and outputs (I/O) you need. If you're a solo podcaster or a singer-songwriter, two inputs are likely plenty. But if you dream of recording a full acoustic drum kit, you’ll need at least 8 inputs to mic everything properly. Better interfaces also include higher-quality preamps, which cleanly boost the faint signal from a microphone to a strong, usable level, giving you much cleaner and more detailed recordings.
Microphones: Choosing Your Ears
Your microphone is the very first thing your sound touches, making it a pivotal choice. For most home studios, the decision boils down to two main types.
- Condenser Microphones: These are the sensitive, detail-capturing mics you often see in professional vocal booths. A large-diaphragm condenser (LDC) is a fantastic all-rounder, perfect for capturing the subtle nuances in vocals and acoustic instruments. Just remember, they need 48v phantom power to work, which is a standard feature on virtually every modern audio interface.
- Dynamic Microphones: These are the tough, reliable workhorses of the audio world. Built to handle loud sounds, they are perfect for things like guitar amps, snare drums, or even aggressive rock vocals. Their lower sensitivity can also be a huge advantage if you’re recording in a room that isn't perfectly treated.
If you want to dive deeper into specific models and uses, our complete guide on home recording studio essentials is a great resource. For most people starting out, one quality LDC is a perfect first step.
Studio Monitors: Hearing the Unfiltered Truth
You can't fix a problem you can't hear. This is why studio monitors are such a critical part of your setup. Unlike typical home stereo speakers that are often tweaked to make music sound more "exciting," studio monitors are built for one thing: honesty. They aim for a flat frequency response, meaning they don't add or remove bass or treble.
This uncolored sound gives you an accurate picture of your mix, letting you hear issues like a muddy low-end or harsh cymbals so you can actually fix them. A great way to set them up is in an equilateral triangle with your head as the third point. A solid pair of studio headphones is also a must-have for catching tiny details and checking your mix in a different environment.
You’re not alone in this journey. The accessibility of this equipment has sparked a massive boom. Between 2010 and 2023, the global market for studio equipment doubled from around $6 billion to approximately $12 billion. Forecasts predict it will hit about $18 billion by 2032. This incredible growth shows just how many people are building their own creative spaces. You can discover more about this market trend and see the numbers for yourself.
Even with all the options out there, a functional studio boils down to a few core items.
This image shows that you really can get started with just a microphone, an interface, and a way to listen, whether that's headphones or monitors.
To help you sort through some of the most popular choices, we've put together a quick comparison of gear that works for different budgets.
Essential Home Studio Equipment Comparison
Feature and price comparison of popular audio interfaces, microphones, and studio monitors for different budget levels
| Equipment Type | Budget Option | Mid-Range Choice | Professional Level | Key Features |
|---|---|---|---|---|
| Audio Interface | Focusrite Scarlett 2i2 | Universal Audio Apollo Twin | Apogee Symphony Desktop | I/O count, preamp quality, onboard processing (DSP). |
| Microphone | Audio-Technica AT2020 | Rode NT1 | Neumann U 87 Ai | Polar pattern options, frequency response, self-noise. |
| Studio Monitors | PreSonus Eris E3.5 | Yamaha HS5 | Neumann KH 120 | Frequency response accuracy, driver size, room correction features. |
Think of this table not as a shopping list, but as a roadmap. It demonstrates that you can start with affordable, high-quality gear and make smart upgrades as your skills and projects grow. The goal is to invest wisely at every stage, ensuring each piece of equipment serves a clear purpose in your workflow. Build a system that supports your art, not one that just looks impressive.
Software and Digital Tools for Modern Home Recording
With your room treated and hardware connected, it’s time to dive into the digital heart of your studio. Your computer is the engine, and your software is the command deck. Picking the right digital tools isn't a game of collecting the most impressive icons for your desktop. It’s about building a workflow so intuitive that it feels like a direct line from your brain to the speakers, letting you capture ideas the moment they strike.
Choosing Your Digital Audio Workstation (DAW)
Your Digital Audio Workstation (DAW) is where every piece of your music comes together. Think of it as your recorder, mixer, and editor all rolled into one application. It’s incredibly easy to get sucked into endless online debates about which DAW is "the best," but honestly, it’s a pointless argument. Pros are making hit records on all the major players, from Ableton Live and Logic Pro to FL Studio and Pro Tools. The only thing that truly matters is how it feels to you.
Choosing a DAW is like picking a musical instrument; you need to find the one that feels right in your hands. My best advice is to ignore the forum wars. Download the free trials for a few different DAWs and dedicate a week to each one. The right choice is the one that lets you get your ideas down the fastest, not the one with the longest feature list. For a deeper dive into the options, you can see our complete guide on the best music production software.
Plugins and Virtual Instruments: The Essential Toolkit
If the DAW is your workshop, plugins are your specialized power tools—the EQs, compressors, and reverbs you'll use to shape and polish every sound. But before you get distracted by every shiny new plugin ad that pops up, commit to one thing: master your DAW’s stock plugins. They are often surprisingly powerful and are built to be perfectly stable in their native environment.
Instead of immediately buying a fancy de-esser, try fixing sibilance with the stock EQ first. This problem-solving approach will build skills that you can apply anywhere, on any system. Virtual instruments (VSTs) are your in-the-box orchestra, giving you access to everything from concert grand pianos to otherworldly synthesizers. The urge to collect hundreds of them is real, but a producer who truly masters one or two great synths will always make more interesting music than someone who just scrolls through a thousand presets.
The Unseen Essentials: Your Computer and Backup Plan
All the best gear in the world is useless if the computer running it can't keep up. You don't need a NASA-level supercomputer, but a fast solid-state drive (SSD) and at least 16GB of RAM are non-negotiable for a smooth workflow. An SSD dramatically cuts down on loading times for projects and sample libraries, which is crucial for staying in a creative flow. However, the single most important—and most neglected—part of setting up a home studio is your backup plan.
I can tell you from painful, firsthand experience that watching months of work vanish with a failed hard drive is absolutely soul-crushing. To make sure that never happens to you, adopt the 3-2-1 rule:
- Have three copies of all your project files.
- Store them on two different types of media (e.g., your internal SSD and an external drive).
- Keep one of those copies safely off-site (e.g., using a cloud backup service).
This kind of digital security is more critical than ever. The global music production equipment market, valued at $7.91 billion in 2024, is expected to hit $10.27 billion by 2033. This boom is fueled by creators on platforms like YouTube and TikTok who rely on these digital workflows. You can discover the full market analysis and trends here. Don’t let a preventable technical failure be the reason your music goes unheard.
Connecting Everything: Signal Flow Made Simple
So, you've unboxed all your shiny new gear. The excitement is real, but it can quickly turn into a tangle of confusing cables and frustrating buzzes. Don't worry. Understanding how your audio gets from point A to point B—a concept called signal flow—is much simpler than it sounds. Think of it as a one-way street for your audio; it has to get from its source to its destination without any crashes or unwanted noise.
The Basic Signal Path
For most home setups, this one-way street is wonderfully straightforward. It all starts with a sound wave, like your voice or a guitar strum. Your microphone grabs this sound and converts it into a tiny electrical signal. From there, the signal travels down an XLR cable and into your audio interface.
Once inside the interface, a preamp gives that small signal a big boost to make it stronger and more useful. Then, the interface's converter does its magic, changing the analog signal into digital information that your computer can actually work with. This data zips through a USB or Thunderbolt cable into your computer and lands safely in your DAW (Digital Audio Workstation), ready to be recorded.
This diagram lays it all out visually, showing the logical, one-way journey your sound takes.
As you can see, the path is direct, starting with your input and ending with you hearing it through your speakers or headphones.
Gain Staging: Your Secret Weapon Against Noise
With everything plugged in, your next job is to get the levels right at every point in the chain. This is called gain staging, and it's your absolute best defense against noise and distortion. If the gain on your interface's preamp is set too low, your recording will be quiet. When you try to boost it in your software later, you'll also crank up all the subtle background hiss along with it.
On the flip side, setting the gain too high causes the signal to clip. This creates a harsh, crackling distortion that is impossible to fix in the mix. A clipped audio file literally looks like its top and bottom have been sheared off—a sure sign of a ruined take. The sweet spot is key. When setting your input level, aim for the meter in your DAW to average around -18dBFS, with the loudest peaks hitting no higher than -10dBFS. This ensures you capture a clean, healthy signal with plenty of room to play with during mixing.
Understanding Your Connections
Believe it or not, the cables you choose play a huge role in keeping your sound clean. It's not as simple as "a cable is a cable." You'll primarily deal with two types: balanced and unbalanced.
- Balanced Cables (XLR & TRS): These are the industry standard for a reason. They use a smart three-wire construction to cancel out electronic hum and interference from power supplies, lights, or your phone. They are essential for connecting your microphones and studio monitors, where a pure signal is everything.
- Unbalanced Cables (TS & RCA): These are fine for very short connections, like plugging a guitar or synth directly into your interface. Over any distance longer than a few feet, however, they become magnets for unwanted noise. If you're chasing down a mysterious hum, an unbalanced cable on a long run is often the culprit.
You'll also run into the term impedance, which sounds complicated but is really just about matching electrical resistance. Thankfully, modern gear makes this easy. Just plug your microphone into the XLR "Mic" input and your electric guitar or bass into the dedicated "Instrument" or "Hi-Z" input. These inputs are specifically designed for those sources, a critical detail when setting up a home studio for the cleanest possible recordings. Getting this right from the start will save you from hours of troubleshooting later.
Developing Your Recording Workflow
So, you've got all the gear plugged in and the meters are bouncing. That's a huge step, but the best equipment in the world won't help if your creative process is a mess. The real goal is to build a system that lets you capture an idea the moment it strikes, without technical headaches getting in the way. Great gear is just a starting point; a reliable workflow is what turns that collection of boxes and cables into a real, functional studio.
Prep for Success with DAW Templates
There’s nothing worse than having a killer song idea pop into your head, only to lose the spark while you spend 20 minutes creating tracks, setting up inputs, and loading your go-to plugins. By the time you're ready to hit record, the magic can fade. This is exactly why a DAW template is one of the most useful tools you can create. It's a pre-built session that you open for every new project, with all your basic setup already done.
A simple template for a singer-songwriter, for instance, could be set up and ready to go with:
- A vocal track already routed to a subtle reverb for monitoring.
- An acoustic guitar track with a starting EQ curve you typically use.
- A track for a direct input bass guitar.
- A basic drum loop track you can use for arrangement.
Taking an hour to build a solid template will save you hundreds of hours down the road. It allows you to immediately start recording, knowing that your technical foundation is solid and consistent. This is a non-negotiable step when setting up a home studio where your time and creative energy are precious.
A System for Your Files
The next part of a smooth workflow is creating a file organization system so simple that you'll actually stick with it. We've all been there, staring at a project folder filled with names like "AUDIO_01," "Guitar_Final," and "Vocals_New_Final_FINAL." It’s a guaranteed path to lost work and a massive headache later.
To sidestep this digital chaos, give every project its own dedicated folder. Inside that folder, use a clear and repeatable formula for every file you save: [ProjectName][Part][TakeNumber]. In a real recording session, it might look something like this:
- Main Folder: MyAwesomeSong_Project
- Audio Files:
MyAwesomeSong_VerseGTR_01.wavMyAwesomeSong_VerseGTR_02.wavMyAwesomeSong_ChorusVox_01.wav
This straightforward structure makes it obvious what each file is, even if you come back to the project months later. You won’t have to guess or listen to dozens of clips to find the right one. It's a lifesaver for project management and makes collaboration much easier.
Momentum vs. Perfection
This final element isn't a technical skill but a critical mindset. You have to find the balance between capturing a great performance and getting stuck trying to make it flawless. During tracking, your main job is to capture the energy and emotion of a performance. Don't stop a fantastic take just because of one slightly flat note.
You can almost always fix a small mistake later, but you can never fake the raw feeling of a performance that was in the zone. Concentrate on getting complete, compelling takes from beginning to end, and keep the creative momentum flowing. Once you have a few solid options for a part, it’s time to move on. Remember, perfectionism is the enemy of "finished."
So, how do you know when a track is truly done? While there's no secret formula, I rely on two practical tests. First, do the car test. Listen to your mix on every system you can—your car stereo, cheap earbuds, your laptop speakers. If it translates well across all of them, you're in a good place. Second, get one trusted opinion. Don't poll a committee; just ask one person whose musical instincts you respect. After you've considered their feedback and passed the car test, it’s time to call it done and let it go.
Your Home Studio Success Action Plan
Building your creative space is an exciting process, but it's easy to get lost in a sea of gear and advice. The key is to see it as a journey, not a destination. Forget about achieving a "perfect" studio overnight. Instead, let's focus on a practical plan that turns your vision into a working reality through smart, steady progress. This is your guide to evolving from a beginner with a new microphone to a confident creator who knows their room and gear inside and out.
Your First 90 Days: A Realistic Timeline
It's tempting to try and learn everything at once, but that's a fast track to burnout. A better approach is to build a solid foundation and establish good habits. Thinking about setting up a home studio this way keeps it fun and stops it from feeling like a stressful chore.
Here’s a way to think about your first three months:
- Month 1: Master Your Core Gear. Your only goal here is to record. A lot. Get a feel for your interface's gain knobs, find your microphone’s sweet spot, and learn the basic recording and playback functions of your DAW. Don't stress about the quality yet; this month is all about repetition and getting comfortable.
- Month 2: Complete Three Small Projects. Now, put your skills to the test. Pick three simple projects—maybe a cover song, a short podcast episode, or a basic instrumental—and see them through to a rough mix. This process will shine a light on the real-world gaps in your workflow and force you to solve practical problems as they appear.
- Month 3: Experiment and Refine. With the fundamentals down, it's time to play. Try different microphone positions to see how they change the sound. Start digging into the stock plugins that came with your DAW, like Ableton Live, to understand what a compressor or an EQ actually does. This is where you begin to find your own sound and identify what’s truly limiting your progress.
Prioritizing Your Upgrades
After a few months of real-world use, you’ll start to feel the actual limitations of your setup. This is the perfect time to think about upgrades, because you'll be making an informed investment, not just buying new toys. For the biggest impact, think about the signal path in reverse.
Your first instinct might be to buy a new microphone, but if your mixes sound muddy or harsh, the problem is almost certainly your room's acoustics. Before anything else, invest in some basic acoustic treatment like bass traps and absorption panels. Remember, you cannot mix what you cannot hear accurately.
Once your room gives you a more honest picture of your sound, the next logical step is to upgrade your monitoring. Whether it's a better pair of studio monitors or high-quality headphones, this is your window into your audio. A clearer window makes every single mixing decision easier and more reliable.
Finally, with a treated room and trustworthy monitoring, you can truly appreciate what a better microphone brings to the table. Upgrading your mic at this stage ensures you're actually hearing the nuanced improvements you're paying for, getting the full value from your investment.
Keeping Your Studio Healthy
A functional studio is a well-maintained one. A few consistent habits will save you from massive troubleshooting headaches later. Try to set aside a little time each month for these simple checks.
- Cable Management: Check your cables for any signs of damage and make sure nothing is tightly coiled, tangled, or strained.
- Routine Backups: This is non-negotiable. Use the 3-2-1 backup rule: have at least three copies of your data on two different types of media, with at least one copy stored off-site.
- Software Updates: Keep your DAW, plugins, and interface drivers up to date to avoid surprise compatibility problems.
- Dust Everything: Dust is the silent enemy of electronics. A quick wipe-down with a microfiber cloth helps keep faders, knobs, and connections working smoothly.
Building your studio is an incredibly rewarding process that never really ends. As you grow, you'll need resources that grow with you. For in-depth tutorials, expert gear reviews, and songwriting inspiration to fuel your creativity, explore everything we have to offer at ChordX.


