
Understanding What Makes Music Room Soundproofing Different
Soundproofing a room for music presents unique challenges. It's not simply about blocking outside noise like traffic. While the goal of controlling sound is shared, music has specific characteristics—diverse frequencies, dynamic range, and reverberant qualities—that need specialized solutions. Ignoring these nuances can lead to wasted time and money, and a subpar sonic environment. A one-size-fits-all approach won't work for musicians.
Why Traditional Soundproofing Falls Short for Musicians
Traditional soundproofing often focuses on blocking high-frequency sounds. Music, however, especially from instruments like bass guitars and drums, generates significant low-frequency energy. These low frequencies are harder to contain. Their longer wavelengths travel easily through walls and floors. Think of how you can often hear a neighbor's bass through a wall, even if you can't make out the melody. Furthermore, music requires a balanced acoustic environment within the room itself, not just isolation from the outside. This involves managing reflections and reverberations, a factor less critical in typical soundproofing situations.
The Core Principles of Music Room Soundproofing
Effective music room soundproofing relies on four key principles: mass, absorption, decoupling, and damping. Increasing mass means adding denser materials to walls, ceilings, and floors. This added weight helps block sound transmission. Absorption uses materials that convert sound energy into heat, reducing reflections and echo. Decoupling separates structural elements to minimize vibrations passing between surfaces. Finally, damping reduces the resonance of materials, further minimizing vibration and sound transmission. Understanding how these principles work together is crucial for optimal results. The acoustic insulation market, which includes solutions for music rooms, was valued at USD 14.75 billion in 2023. It's projected to grow at a CAGR of 4.3% from 2024 to 2030, fueled by urbanization and stricter noise regulations. More detailed statistics can be found here: Learn more about acoustic insulation market growth
Considering Room Dimensions and Frequency Range
Your room's size and shape significantly impact how sound behaves inside. Smaller rooms tend to emphasize certain frequencies, creating uneven sound distribution. Larger rooms can suffer from excessive reverberation. Your space's dimensions will influence your specific soundproofing and acoustic treatment strategies. Understanding the frequency range of your instruments is also vital, not just the overall volume. Different instruments generate different frequency profiles. A drum kit produces a much wider range of frequencies than a flute. Your soundproofing approach must be tailored to the specific frequencies you need to control, ensuring effective sound management across your music's entire spectrum.
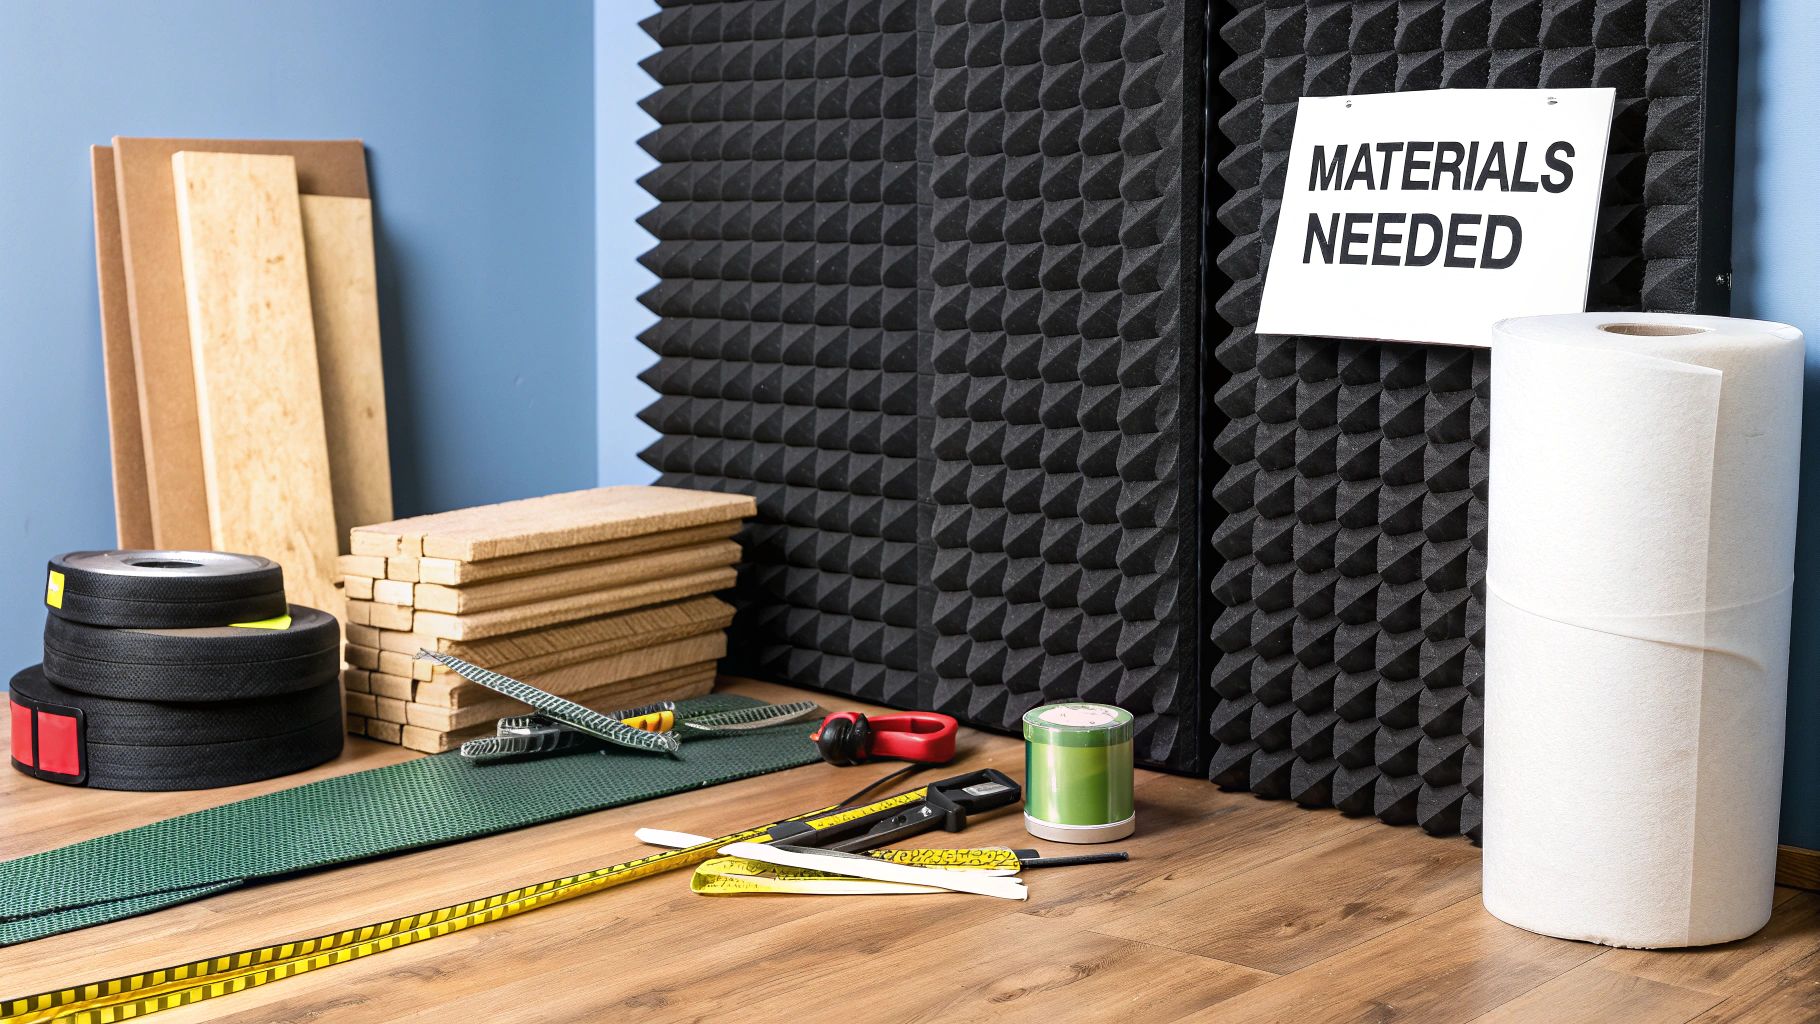
Choosing Materials That Actually Work For Your Music
Stop wasting money on ineffective foam panels. This section reveals the materials that deliver real results for soundproofing a music room, catering to various budgets and musical styles. You might be interested in: How to master acoustic treatment.
Understanding Material Properties
Different materials interact with sound waves in unique ways. Mass-loaded vinyl (MLV), a dense, flexible material, excels at blocking sound transmission because of its high mass. Imagine it as a heavy curtain blocking out light. Acoustic foam, while helpful for controlling reflections inside a room, isn't as effective at preventing sound from escaping. Think of it as a sponge absorbing water rather than a solid barrier. Finally, there's Green Glue, a damping compound. When sandwiched between drywall layers, it converts sound energy into heat, further reducing transmission.
Matching Materials to Your Music
The best soundproofing materials depend on the instruments played. A piano, with its wide frequency range, benefits from combining mass-loaded vinyl for blocking lower frequencies and absorptive materials for managing higher frequencies.
For electric guitars, the focus might shift towards absorbing mid-range frequencies and minimizing reflections within the room.
Drums, however, require significant low-frequency control. This makes decoupling solutions like resilient channels, which separate the floor or ceiling from the structure, especially important.
To help you choose the right soundproofing material, we've created a comparison table below. It summarizes the cost range, effectiveness, best applications and installation difficulty of popular materials.
Music Room Soundproofing Materials Comparison
| Material | Cost Range | Effectiveness | Best For | Installation Difficulty |
|---|---|---|---|---|
| Mass-Loaded Vinyl (MLV) | $$ | High (Sound Blocking) | Low-frequency sounds (Piano, Bass, Drums) | Medium |
| Acoustic Foam | $ | Medium (Sound Absorption) | Mid-high frequency sounds (Vocals, Guitars), Reducing room echo | Easy |
| Green Glue | $$ | High (Sound Damping) | Used in conjunction with drywall for enhanced sound blocking | Medium |
| Resilient Channels | $$ | High (Decoupling) | Impact noise and low-frequency vibrations (Drums, Subwoofers) | Medium-Hard |
| Mineral Wool | $ | Medium (Sound Absorption & Thermal Insulation) | Filling wall cavities and ceilings | Medium |
The table highlights that while MLV and Green Glue are effective for blocking sound, acoustic foam is better suited for absorbing sound and controlling reflections. Resilient channels provide a unique decoupling solution for impact noise, making them a top choice for drummers.
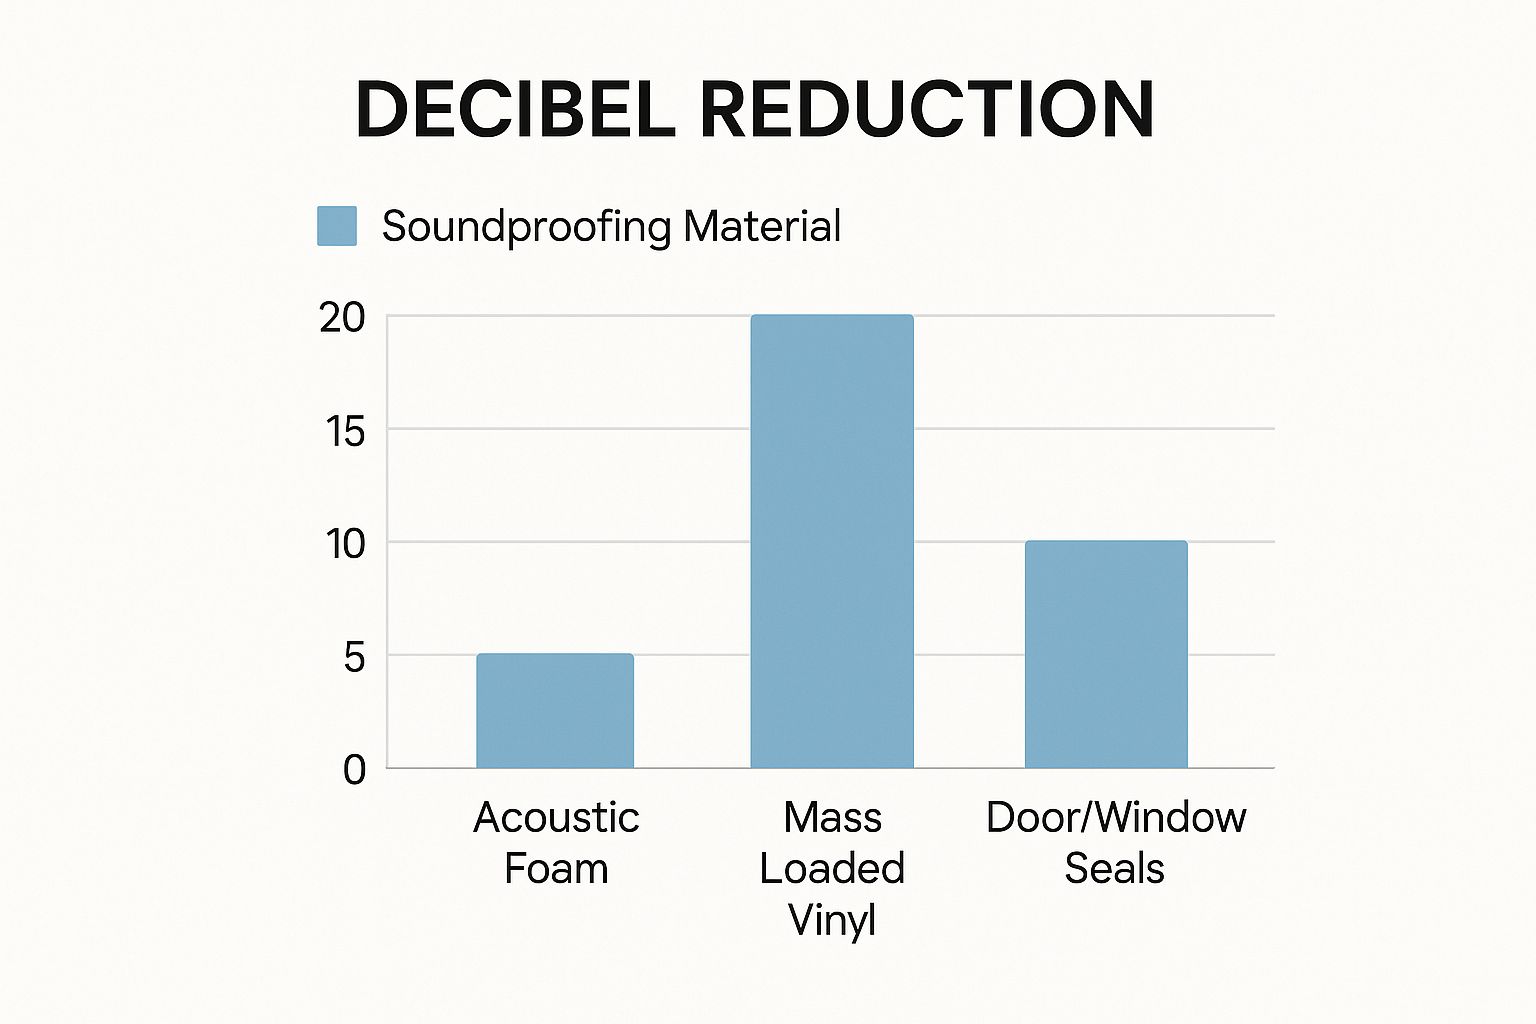
The infographic above demonstrates the decibel reduction achieved by acoustic foam, mass-loaded vinyl, and door/window seals. Mass-loaded vinyl provides substantially greater sound reduction. This reinforces the need to choose materials based on performance, not just perceived sound absorption.
Balancing Performance and Budget
While premium materials often offer better performance, smart DIY methods can yield decent results on a tighter budget. Strategically placed bookshelves filled with books can offer noticeable mass and absorption. Also, sealing air gaps around windows and doors with weather stripping can drastically reduce sound leakage. Effective soundproofing doesn't always mean huge expenses, but it does require informed decisions about resource allocation.
Wall Treatments That Stop Sound In Its Tracks
Your walls are critical for soundproofing a music room. Many common methods, however, fail to consider how sound frequencies travel. This article explores effective wall modifications for both renters and homeowners, from adding mass to more complex decoupling techniques.
Adding Mass to Existing Walls
One of the easiest soundproofing improvements is increasing wall mass. This can be done by adding another layer of drywall. The increased density helps block sound more effectively. A single drywall layer offers minimal sound reduction, while a double layer significantly improves sound isolation.
Another effective method is using mass-loaded vinyl (MLV). This dense material installs easily over existing walls or under new drywall for increased sound blocking.
Decoupling for Superior Sound Isolation
Decoupling separates wall components to minimize vibrations, drastically reducing sound transmission. Resilient channels are a common method. These metal strips attach to existing studs, creating an air gap before new drywall is installed, absorbing vibrations.
Another approach is staggered stud wall construction. A new wall frame is built slightly offset from the existing one, separating the structures and reducing sound pathways. The global indoor soundproof room market is growing. In 2023, it was valued at USD 2.1 billion and is projected to reach USD 3.8 billion by 2033. Learn more: Find more detailed statistics here
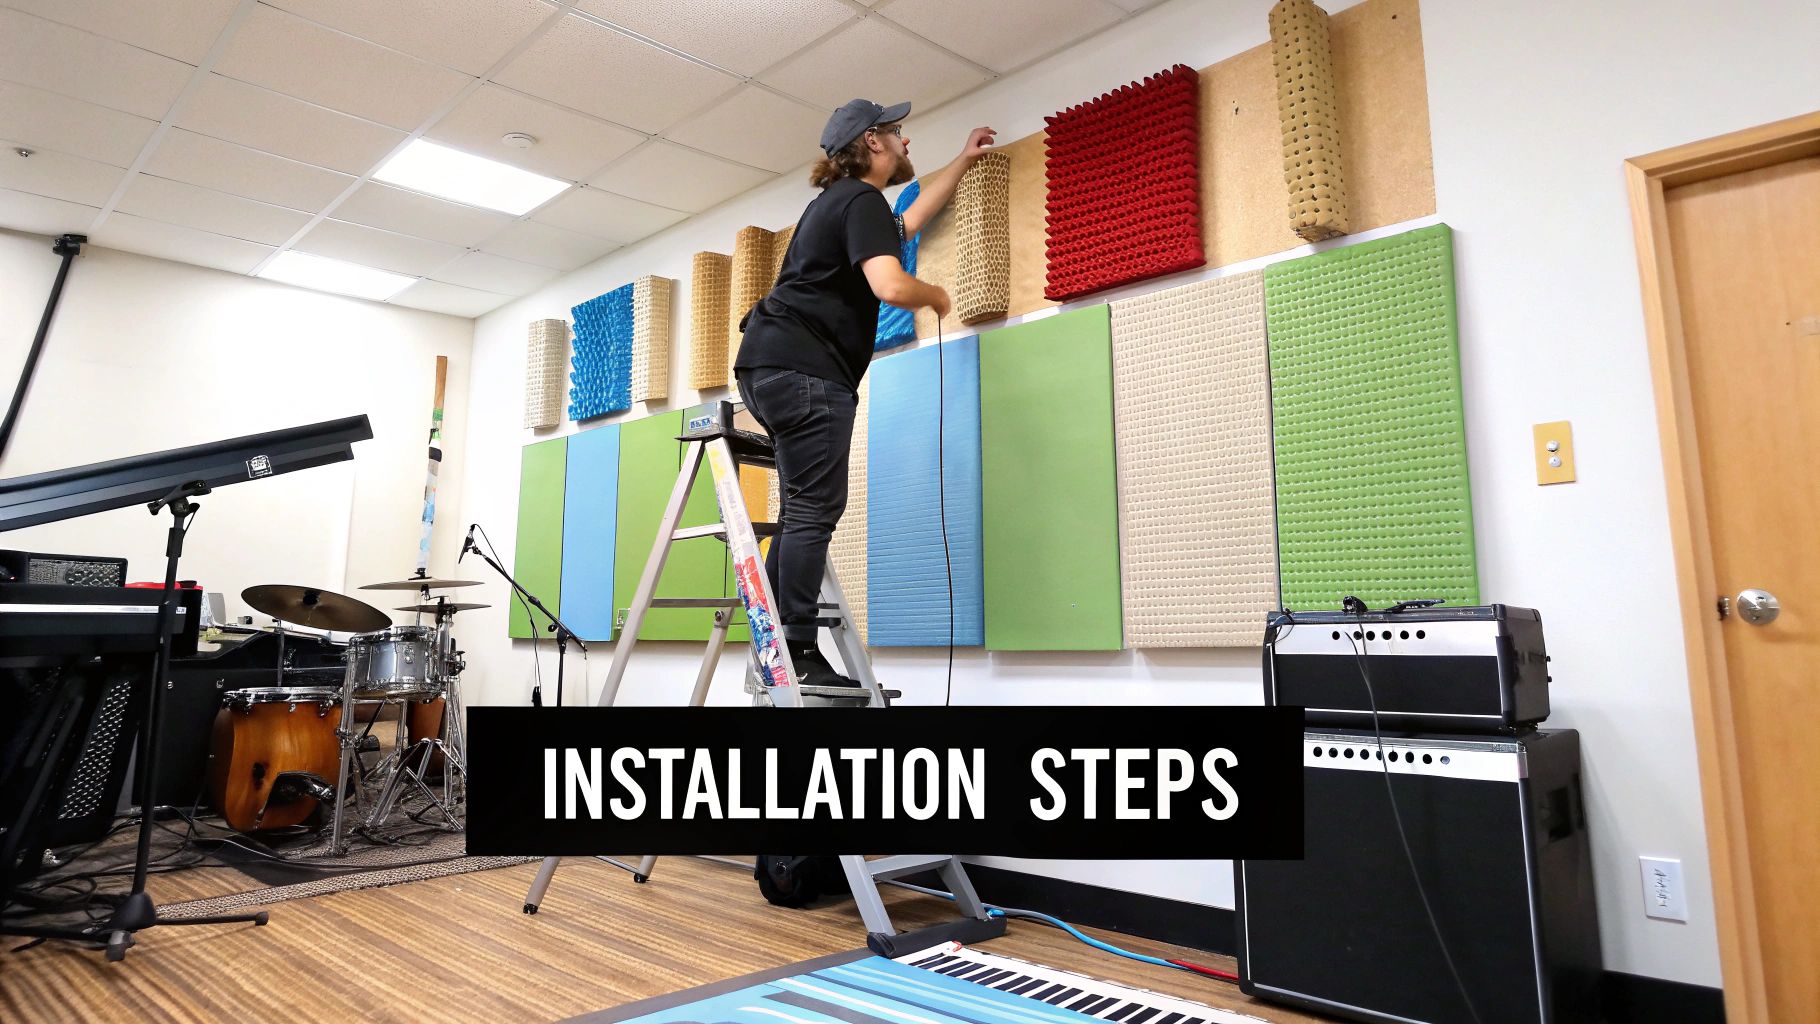
Step-by-Step Drywall Doubling Installation
Doubling drywall is a popular DIY project. Here’s a simplified process:
- Measure and cut new drywall sheets to fit your wall.
- Apply Green Glue noise-proofing compound to the existing drywall.
- Install the new drywall over the Green Glue, ensuring tight seams.
- Seal seams with acoustic sealant and finish with drywall tape and compound.
Common Soundproofing Mistakes
Even with the best materials, improper installation can hinder your efforts. Avoid these pitfalls:
- Ignoring air gaps: Small gaps around outlets and windows severely impact soundproofing. Seal all openings completely.
- Weak framing: Flimsy walls vibrate easily, transmitting sound. Reinforce framing if necessary.
- Incorrect material choices: Using only absorptive materials like acoustic foam is insufficient. Combine them with mass-adding or decoupling solutions.
By understanding these techniques and avoiding common mistakes, you can create effective sound barriers. The right approach depends on your needs, budget, and skill level. Significant sound reduction often requires a combination of methods.
Tackling Floors and Ceilings for Complete Isolation
Impact noise, such as footsteps or the thump of a bass drum, easily travels through floors and ceilings. This often compromises even the most carefully soundproofed walls. This section explores effective methods for isolating these vertical surfaces, creating a truly soundproof music room.
Floating Floors: Decoupling for Impact Noise Reduction
Floating floors are a highly effective solution for minimizing impact noise. They are installed on top of a layer of dense, resilient material, effectively decoupling them from the structural floor below. This separation disrupts the vibration pathway, preventing sound transmission to lower levels. Think of it like a car’s suspension, absorbing shocks before they impact the passengers. Various floating floor systems are available, utilizing specialized underlayments like high-density rubber or mineral wool.
Ceiling Solutions for Upward Sound Transmission
Just as sound travels downwards, music also projects upwards through the ceiling. Suspended ceilings, similar in concept to floating floors, create an air gap that isolates sound. These systems hang from the existing ceiling structure, forming a decoupled barrier. For less involved modifications, dense ceiling tiles with high sound absorption ratings can also reduce sound transmission. This is a good option if a full suspension system isn't feasible.
Practical Approaches for Renters and Homeowners
Renters often face restrictions on structural modifications. While floating floors may not be an option, thick rugs and carpets with dense underpadding can still offer some sound absorption and impact noise reduction. For ceilings, strategically placed acoustic panels can help absorb upward-traveling sound.
Homeowners generally have more options for permanent solutions. Installing a floating floor or a suspended ceiling offers significant isolation. For example, a floating floor system can reduce impact noise by up to 20dB, greatly minimizing sound transfer to adjacent rooms. While these improvements require a greater investment, they deliver superior soundproofing for serious music practice or recording.
Advanced Techniques for Dedicated Music Spaces
For dedicated music rooms, advanced techniques further enhance sound isolation. Double-joist ceiling construction, similar to staggered stud walls, creates a highly effective decoupled barrier. For floors, combining a floating floor with specialized underlayments, such as resilient channels filled with mineral wool, provides maximum isolation. These advanced methods typically require professional installation, but they offer the best results for critical listening environments. Choosing the right approach depends on your individual needs and budget. It's about finding the balance between practicality and performance. Whether it's a simple rug or a full floating floor installation, addressing floor and ceiling soundproofing is essential for a truly isolated music space.
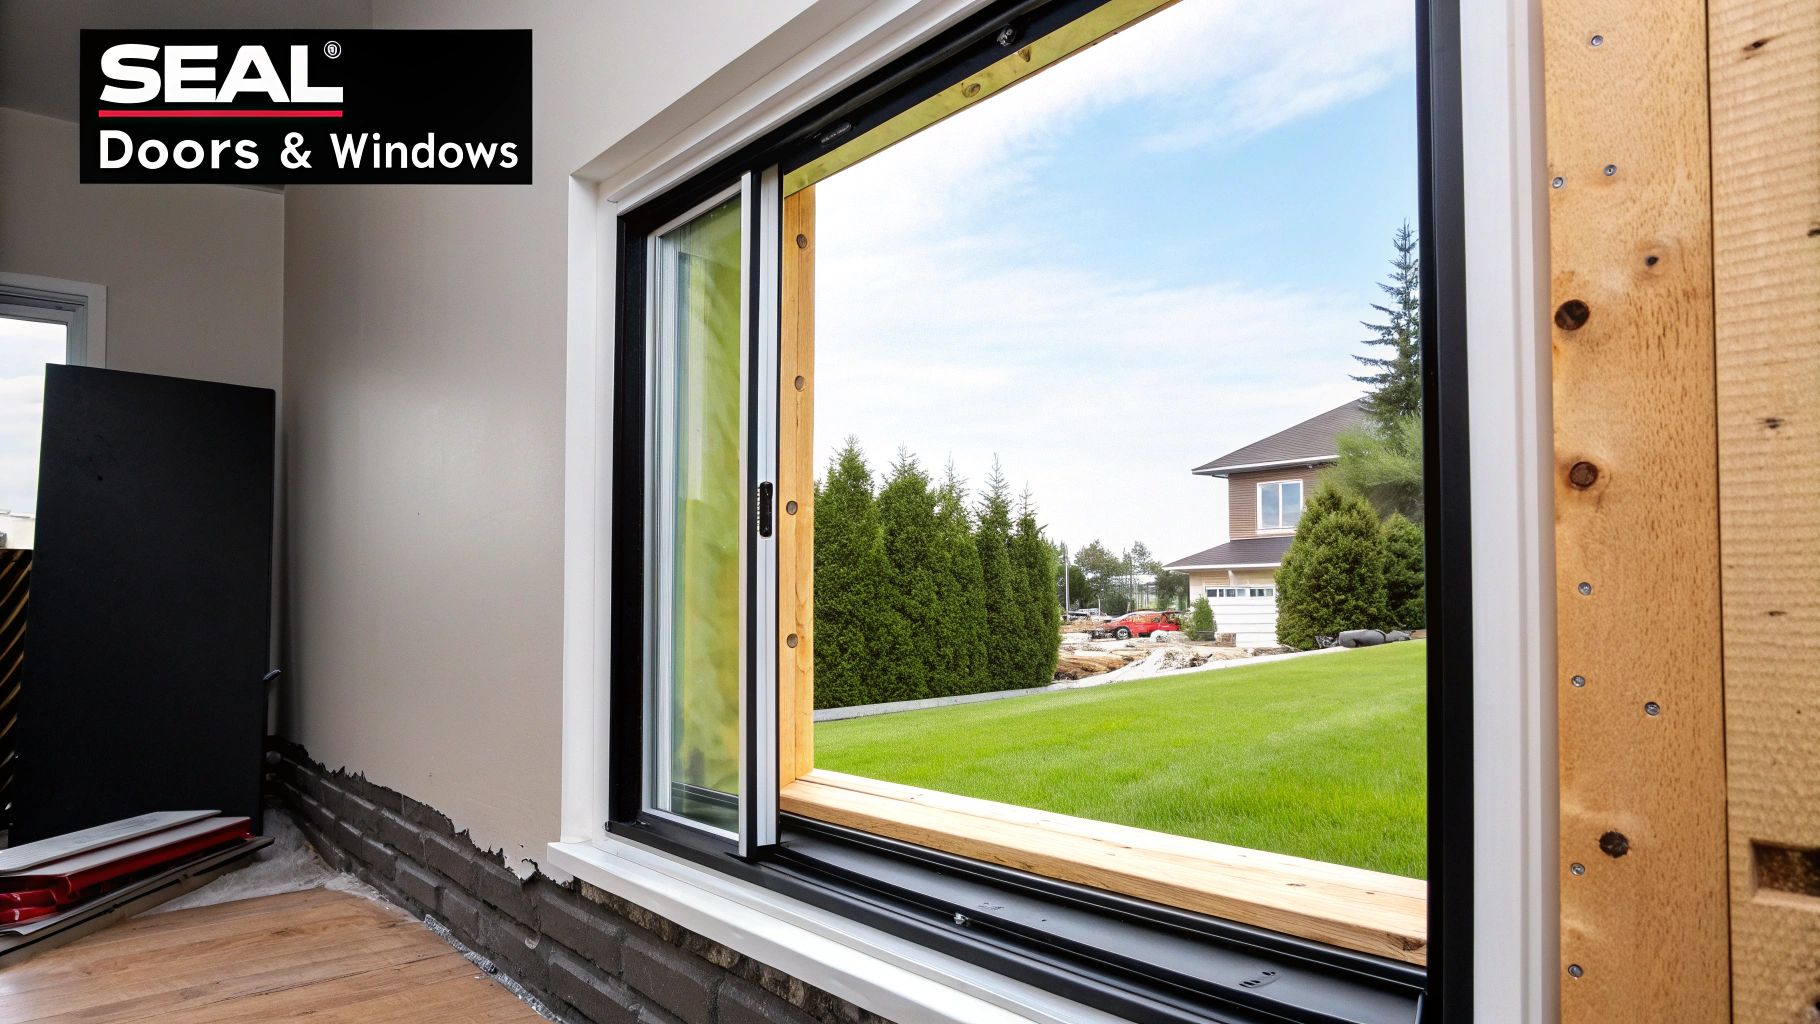
Sealing The Weak Points: Doors And Windows
Even with meticulously soundproofed walls, sound can still escape through doors and windows, significantly impacting your music room's isolation. These are often the weakest points in any soundproofing endeavor. This section explores practical solutions for sealing these vulnerabilities, from simple DIY fixes to more specialized installations.
Identifying and Eliminating Air Gaps
Air gaps are a major culprit in sound leakage. Sound travels effortlessly through even tiny openings. The first step is to identify these gaps around your door and window frames. One simple method is to hold a lit candle near the edges and watch for flickering. This indicates air movement and, consequently, potential sound leakage.
Addressing these gaps is fundamental to effective soundproofing. Applying weatherstripping to door frames is a cost-effective way to seal air leaks. Using acoustic sealant around window frames can further minimize sound transmission. These simple measures offer significant improvements in sound isolation.
Upgrading Doors for Soundproofing
Standard doors offer minimal sound insulation. Solid-core doors provide better sound blocking than hollow-core doors because of their density. For professional-grade soundproofing, however, consider a specialized acoustic door. These doors incorporate multiple layers of dense materials and airtight seals specifically designed to minimize sound transfer.
If replacing the entire door isn't feasible, upgrading your existing door is a more budget-friendly option. Adding a layer of mass-loaded vinyl to the door's surface can significantly enhance its sound-blocking properties. Installing a door sweep at the bottom seals the gap between the door and the floor, further preventing sound leakage. The growth of the office soundproof booth market demonstrates the increasing demand for sound isolation. Projected to grow from USD 1.2 billion in 2024 to USD 2.68 billion by 2033, this trend underscores the need for quieter environments, a benefit directly applicable to music rooms. Learn more: Find more detailed statistics here
Soundproof Window Treatments
Windows present a unique challenge because they also need to provide natural light and ventilation. Double-paned windows generally offer better sound insulation than single-paned windows due to the air gap between the panes. For optimal soundproofing, consider specialized acoustic windows, which have thicker glass and wider air gaps.
For a more budget-conscious approach, thick curtains or soundproof blankets can help absorb sound and reduce transmission. Cellular shades, also known as honeycomb shades, trap air within their cells, offering additional sound absorption. These solutions help balance the need for soundproofing with the desire for natural light and ventilation. By implementing these door and window soundproofing strategies, you can considerably reduce sound leakage and create a truly isolated music room.
Advanced Techniques From Professional Studios
Taking soundproofing to a professional level involves techniques used in recording studios. These advanced methods require greater investment and expertise, but deliver exceptional sound isolation. This creates an environment where music can be recorded and played without external noise interference or disturbing others. For aspiring home recording artists, you might find this resource helpful: How to record music at home.
Room-Within-A-Room Construction
One highly effective technique is room-within-a-room construction. This involves building a separate inner room within your existing room, separated by an air gap. This gap acts as a sound buffer, significantly reducing sound transmission. Think of it like double-paned windows, where the air space minimizes sound transfer. The inner room "floats," minimizing sound-carrying vibrations.
Specialized Damping Compounds and Acoustic Treatments
Beyond structural isolation, specialized damping compounds and acoustic treatments further enhance soundproofing and sound quality. Viscoelastic damping compounds, applied between layers of drywall or other materials, convert sound energy into heat, minimizing transmission. Integrated acoustic treatments, like strategically placed absorbers and diffusers, optimize the room's acoustics, reducing unwanted reflections and reverberations for a cleaner, more balanced sound.
HVAC Modifications and Electrical Planning
Professional studios also prioritize HVAC modifications and electrical planning. Quiet HVAC systems and ductwork prevent sound leakage through ventilation. Dedicated electrical circuits and grounding minimize electrical interference impacting recordings. For instance, isolating the studio's electrical system can significantly reduce background hum.
Construction Techniques and Professional Consultation
Advanced soundproofing often involves specific construction techniques. Staggered stud walls and double-joist ceilings decouple structural elements, minimizing vibration transfer. These methods often require specialized expertise. Consulting an acoustical consultant is highly recommended. They can analyze your space, recommend appropriate techniques, and ensure proper installation for optimal results.
To understand the effectiveness and cost implications of different approaches, let's examine the following table:
Soundproofing Effectiveness By Method
| Method | dB Reduction | Cost Range | Time Investment | Permanence |
|---|---|---|---|---|
| Weatherstripping | 5-10 dB | $10-$50 | A few hours | Low |
| Door Seals | 10-20 dB | $20-$100 | A few hours | Low |
| Soundproof Curtains | 5-15 dB | $50-$200 | A few hours | Low |
| Acoustic Panels | 10-30 dB | $50-$500+ | A few hours | Medium |
| Mass-Loaded Vinyl | 10-20 dB | $2-$5 per sq ft | 1-2 days | Medium |
| Room-within-a-Room | 30-50+ dB | $5,000-$20,000+ | Weeks | High |
| Double Drywall with Green Glue | 15-25 dB | $3-$6 per sq ft | 2-4 days | High |
This table summarizes the dB reduction, cost, time, and permanence of various soundproofing methods, highlighting the significant investment associated with higher levels of isolation.
Permits, Testing, and Troubleshooting
Finally, advanced projects might require permits. Consult local building codes and obtain necessary approvals. Post-construction testing, using sound level meters, can verify results. Troubleshooting skills, such as addressing flanking noise around ductwork or electrical conduits, are essential for optimal isolation.
Smart Budgeting For Maximum Impact
Effective soundproofing for a music room doesn't require a bottomless bank account. Rather, it hinges on thoughtful planning and strategic spending. This section outlines cost expectations for different levels of sound reduction, from basic noise control to professional sound isolation. We'll guide you on prioritizing, discovering budget-friendly options, and ensuring your investment aligns with your musical aspirations. You might be interested in: How to produce music at home.
Prioritizing for the Biggest Impact
Not all soundproofing methods are equal. Some deliver substantial sound reduction for a small investment, while others offer diminishing returns. For instance, sealing air gaps around doors and windows with weatherstripping is a cost-effective way to achieve a substantial improvement. Tackling these vulnerabilities first can make a significant difference before considering more costly alterations.
Similarly, applying mass-loaded vinyl (MLV) to your walls offers excellent sound blocking at a reasonable price. This yields a better return on investment than immediately opting for complex (and expensive) room-within-a-room constructions.
Phasing Projects Over Time
Soundproofing doesn't need to be a one-time endeavor. A phased approach allows you to spread the cost over time. Begin with the most crucial areas, such as walls shared with other rooms. Later, you can address the ceiling, floor, and finally, more complex techniques like decoupling. This phased approach makes the overall project more manageable.
Saving Money Without Sacrificing Performance
There are clever ways to save without compromising on quality. Consider DIY installation for straightforward tasks like applying weatherstripping or setting up acoustic panels. This can dramatically reduce labor costs compared to hiring a professional. However, for complex tasks like installing a floating floor or constructing a room-within-a-room, professional installation is generally recommended to ensure correct execution and avoid costly errors.
Cost Analysis and Priority Frameworks
Understanding the costs associated with different soundproofing materials and techniques is essential. Research material prices, compare contractor quotes, and factor in the time involved in DIY projects. Prioritize your needs based on your budget and desired sound reduction.
Seasonal Buying and DIY vs. Professional Installation
Think about seasonal buying. Some materials, such as insulation and drywall, might be less expensive during certain times of the year. Carefully weigh the costs and benefits of DIY versus professional installation. While DIY saves on labor, professionals provide expertise and can often finish the project more quickly.
Aligning Investment with Your Goals
Ultimately, make sure your investment aligns with your musical ambitions and living situation. If you’re a casual musician who practices occasionally, basic soundproofing might be sufficient. But, if you're a serious musician recording at home, a more comprehensive approach is necessary. Consider your long-term needs and budget appropriately to achieve your desired level of sound isolation.
Ready to create the perfect sound environment for your music? Visit ChordX for expert advice, tutorials, and resources to help you build your dream music space.


